How to paint a rose – how to paint roses
I love to share how to paint a rose as I am very passionated about painting roses in watercolor or oil. My free demonstrations and DVDs show you all the secrets to get a three dimensional look, no matter which medium I use, if it is oil or watercolor. I always want my roses to be realistic and glowing in colour, I want to capture the soft and light petals, I want the light showing through the petals. But I also want to create a three dimensional form, so I use colour temperature. With colour temperature I mean warm and cool colours. Often our highlights are cool and the petals in shadow are warm. I also use lights and darks. I don’t want my rose paintings looking flat. I want to share my knowledge about how to paint a rose. I am offering a lot of free lessons with step-by-step-demonstration-photos to show you how to paint roses. Also my available Watercolor DVDs show you excactly what I am doing and give you much more indepth information. If you always wanted to paint stunning realistic roses then I hope you enjoy my free tutorials as well as the step-by-step-demonstration photos.
How to paint a purple magenta pink rose
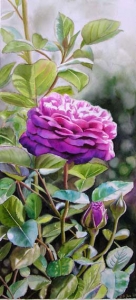 The rose at left is the ‘Heidi Klum Rose’. I love the deep purple magenta pink colours of this rose. I did a free step-by-step tutorial about how to paint a rose in watercolor and I also show you which colours I am using. Looking at the finished Watercolor Painting of this beautiful Rose you can see that the Rose looks three dimensional, it has form and depth. You also notice that I used warm and cool colours on the Rose. But also on the leaves you see that I used warm and cool colours to paint the leaves. For more information about how to paint this beautiful purple magenta pink rose just visit the free tutorial page.
How to paint a single creamy white rose with leaves and background
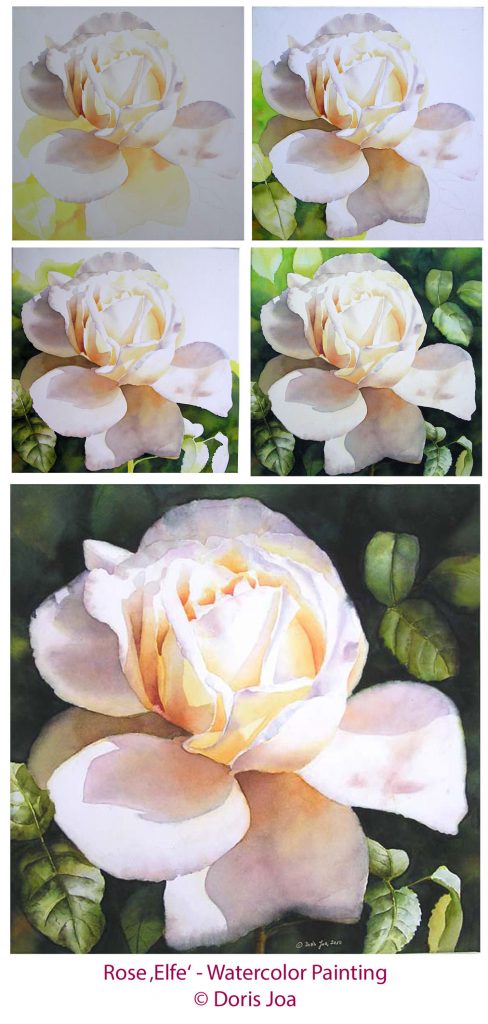
When I want to start to paint roses I then have a look through all my reference photos to figure out what captures me in this moment. There is no deep meaning behind my roses paintings, no philosophy. It is just my pleasure, I just have fun to paint them and to show their beauty through my art. I always start with the petals which have a lot of colour. I never start with the petals in light. At this stage on the white paper I find them boring. I want to use colour. And I also want to see the roses developing on the white paper. I start at the base of the petals – where it meets the other petals. I have a close look and want to analyse all the colours which I am seeing there.
Use yellow to create a glowing underwash
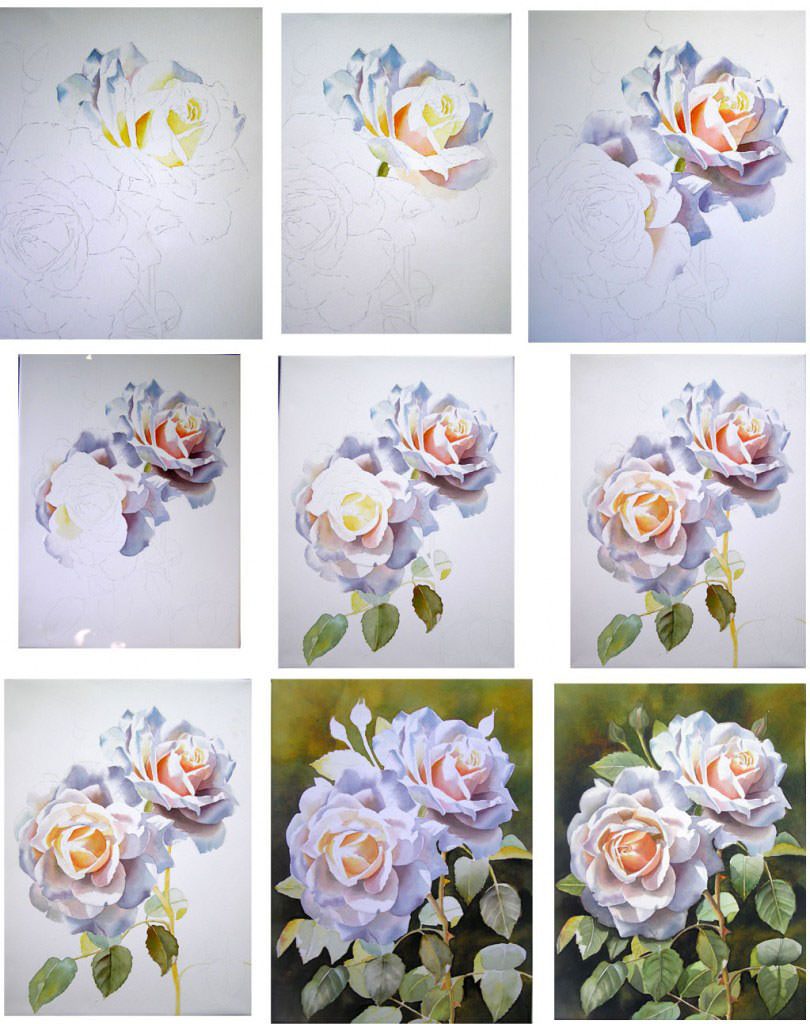
I then start with my first wash. Mostly it is yellow because I want to make those parts glowing. When this part is dry I then start with the next layer and use now the colours for the rose. In this rose there are mixes of yellow and red and also some blue for the darkest parts. I paint each petal separately. To acchieve a realistic three dimensional look it is necessary to paint each petal separately. I also want to have glowing shadow colours. I want to have my shadows dancing on the paper. In the photo displayed here you can see that – although it is a white rose – there are many colours in my shadow areas. You can see Indian Yellow, Alizarin Crimson and Phthalo Blue and of course mixes of them. I create depth with adding more layers of colours and I make sure that I safe the white of the paper for my white highlights. I start early with the background. I make sure that some of my rose petals are integrated in the background with soft washes. Very important is that some of the background colour flows over the edges of the petals. To make a white rose really pop it is often the best to paint a dark background.
How to paint a botanical rose study with white background
 There is another free step-by-step-demonstration available on my website. In this free tutorial I show you how to paint a pink rose with leaves without background. This is a botanical rose study and again I share my colours and the steps of my painting process. For more informations on how to create this beautiful pink rose study just visit the Free Tutorial.
How to create a complex rose painting, full bloom with bud and leaves
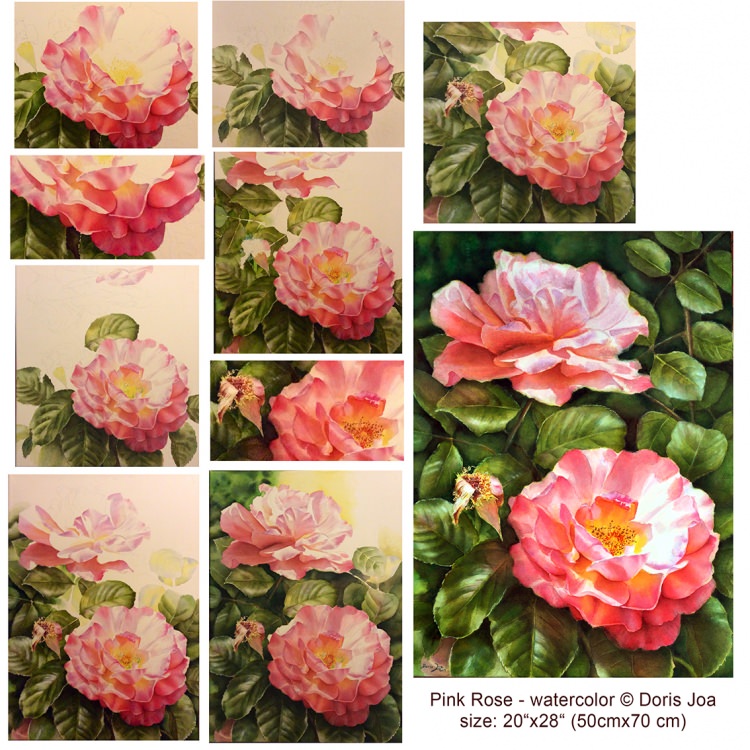
 This is a large watercolor rose painting, size is 20″x28″. It is painted on 140 Lb cold pressed watercolor paper. I made my own watercolor canvas for this painting, so that the rose doesn’t need any glass. It can be framed like an oil or acrylic painting. I wanted to have this beautiful rose glowing with colours. I wanted to have the pinks glowing and in the single photos you can see that this rose really glows.
Paint warm and cool areas
As main colours for the pinks I used: Permanent Rose, Anthraquinoid Red, Purple Magenta, Cobalt Blue, Sap Green, Aureolin and Indian Yellow
I will explain how to how to paint glowing roses in watercolor. When I paint roses I am aware of the cool and warm areas of the petals. If the petal lays in shadow then this area will be usually created with warm colours. To make this area glowing I start with a yellow underwash. In this pink rose study I used Aureolin as my yellow underwash. For my pinks I used Permanent Rose. For warmer and darker areas I mixed this Permanent Rose with Anthraquinoid Red. But since I was working in the shadow areas I also used some Cobalt Blue for the light areas in the shadows. If you have a close look to my work in progress it is then easily to see where I placed the yellow and where I placed the blues. To paint dark areas in the shadowed areas I then added a bit of Sap Green to the Permanent Rose/Anthraquinoid Red-Mix. I already mentioned that I used Cobalt Blue mixed with Purple Magenta for my cooler areas. This helps to describe the flower and to give the flower the three dimensional look. When I paint flowers in watercolor I always work with fine thin layers and build my colours with adding more and more colours. If your yellow underwash was not strong enough it is then still possible to add later a wash of yellow to warm your area up.
How to paint a pink rose – How to paint a white Rose
Below are displayed more step-by-step-photos. In this photos you can see how I work, where I start with my colours, when I start with the background.
Rose ‘Claire de Renaissance’ – watercolor painting © Doris Joa
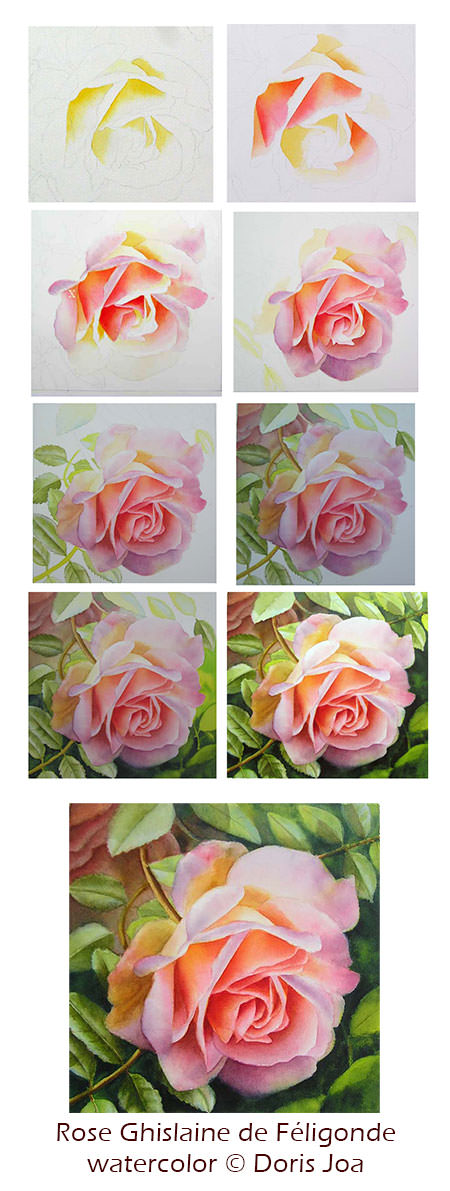
How to paint the beautiful Rose Ghislaine de Féligonde
I started with an underwash of Indian Yellow, a warm yellow, the next layer was a mix of this Yellow with some Translucent Orange. Because I wanted to have my rose painting glowing. Then I added a wash of Permanent Rose mixed with Indian Yellow to create a warm pink colour. In areas with a less warm pink I only used Permanent Rose. For cool areas I created a mix of Pthalo Blue and Permanent Rose. If you want to have your rose really glowing you will need to have some extra warm underwashes in some areas. Just try it out. I always love to see a rose developing on the white paper and I am always amazed how the complete look changes when the background is added. You can see how a dark tone in the background really makes the flower pop and how the different kinds of edges help us to make the painting perfect.
To view a large collection of painted roses just visit my Rose Paintings Gallery. I painted roses in orange, yellow, white, red, purple and pink. Click to get more Watercolor Lessons to improve your paintings.
How to paint a rose – Learning with my Watercolor DVDs and Videos
Watercolor DVDs
Watercolor Online Videos
Watercolor E-book
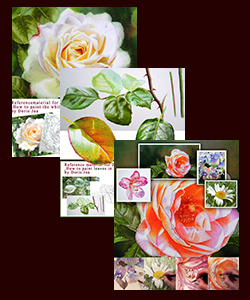
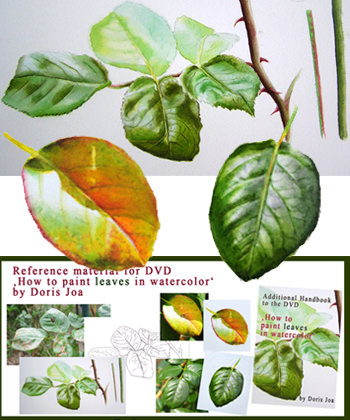
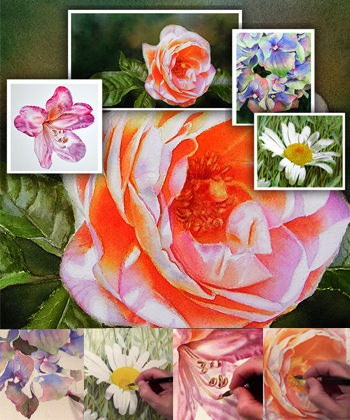
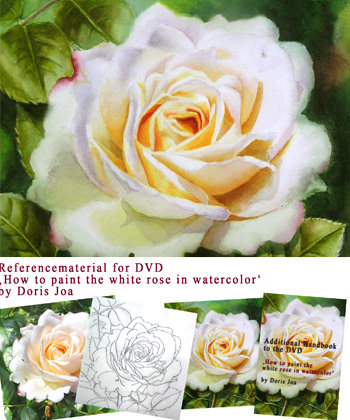
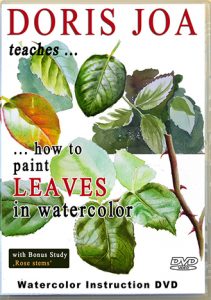
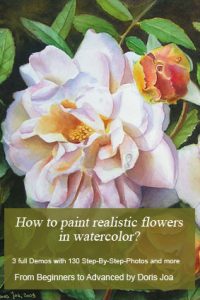
If you want to get a deeper understanding and if you want to learn which methods and techniques I am using for how to paint roses then my Watercolor Teaching DVDs ‘are the best tool to learn all what I am doing and especially why I am doing specific things. Get all the information on how to create a complete painting, starting with the rose, adding the leaves and then integrate all together in a beautiful background. Learn to create atmosphere and harmony Learn to paint different flowers or realistic leaves with indepth art instruction. In this DVDs / Ebook I show you all the secrets and important tools you need, all the information about colour temperature, edges, the depth and lights of your colours and more.
Happy Painting


Leave a Reply
Want to join the discussion?Feel free to contribute!